

Elevating Safety Standards: Exploring Jessup Manufacturing's Exit Signs & Tapes Solutions
Safety is a fundamental aspect of any environment, whether it's a workplace, educational institution, or public space. With Jessup Manufacturing's innovative Exit Signs & Tapes solutions, organizations can take proactive measures to enhance safety, visibility, and compliance. Let's delve deeper into the extensive range of products offered by Jessup Manufacturing and their role in revolutionizing safety standards across industries.
UL 924 Exit Signs: Eco-Friendly and Dependable
In emergencies, clear and visible exit signage can make all the difference. Jessup Manufacturing's UL 924 Exit Signs are not only eco-friendly but also boast zero energy consumption, making them a sustainable choice for any facility. These signs provide crucial guidance to occupants during evacuations, ensuring a smooth and efficient process. With their UL 924 listing, organizations can trust that they meet rigorous safety standards and compliance requirements.
Running Man Signs (CAN ULC-S572): Energy-Efficient Directional Guidance
When electricity is unavailable, traditional exit signs may not be reliable. Jessup Manufacturing offers Running Man Signs that operate without the need for external power sources, meeting code CAN/ULC S572 and compliant with the Accessible Canada Act. These signs provide clear directional guidance to occupants, facilitating safe and efficient evacuations even in challenging conditions. With their energy-efficient design, Running Man Signs offer a dependable solution for emergency preparedness.
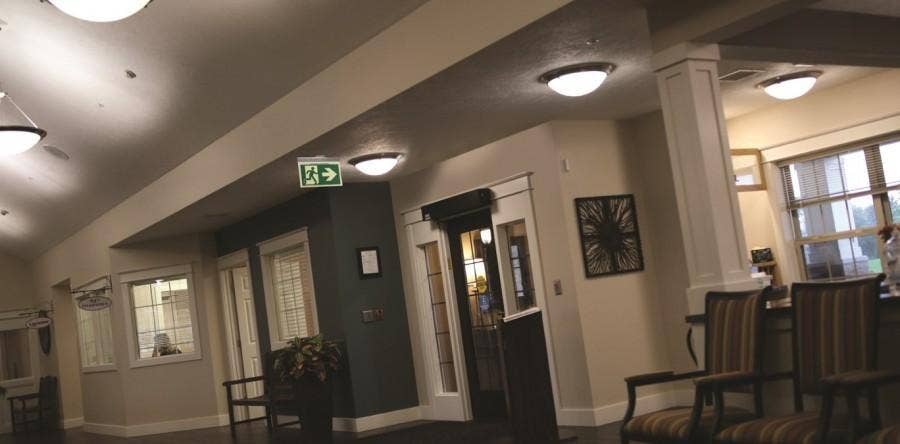
Luminous Stairwell Egress System: Code-Compliant Stairwell Safety
Stairwells are critical evacuation routes, and ensuring their compliance with safety codes is essential. Jessup Manufacturing's Luminous Stairwell Egress System is designed to make stairwells code-compliant for evacuation. Featuring highly visible markings and clear signage, this system enhances safety and visibility, enabling occupants to navigate stairwells safely and swiftly during emergencies. With its comprehensive approach to stairwell safety, organizations can ensure compliance and peace of mind.
Egress Signs & Marking Tape: Enhancing Pathway Visibility
Clear and visible exit signs are essential for guiding occupants to safety during emergencies. Jessup Manufacturing offers a range of egress signs and marking tapes designed to enhance pathway visibility. These products feature durable construction and highly visible markings, ensuring that evacuation routes are easily identifiable, even in low-light conditions. With their clear and concise messaging, egress signs and marking tapes play a crucial role in emergency preparedness.
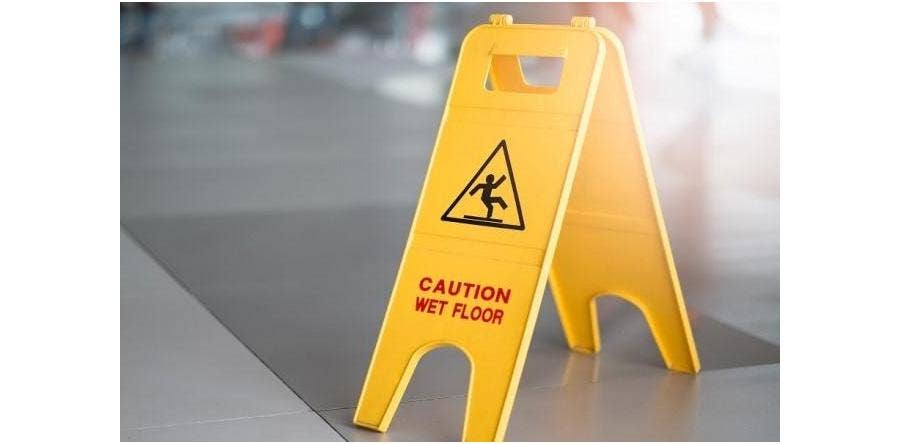
Anti-Slip Tapes & Treads: Visibility and Traction in Low-Light Conditions
In emergencies, maintaining traction is essential to prevent slips and falls. Jessup Manufacturing's Anti-Slip Tapes & Treads feature glow-in-the-dark grit and die-cut shapes, providing visible safety even in low-light conditions. These products offer reliable traction and visibility, enabling occupants to navigate exit pathways and stairwells safely and confidently during emergencies. With their durable construction and high-visibility design, anti-slip tapes and treads ensure safety and peace of mind.
Bulk Film & Sheets: Customizable Signage Solutions
For organizations with specific signage needs, Jessup Manufacturing offers Glo Brite® bulk rolls and sheets in various luminosities. These products provide versatile solutions for highly visible signage and custom-cut shapes. With their customizable design and easy installation, bulk film and sheets offer organizations a convenient and cost-effective way to enhance safety and compliance. Whether for indoor or outdoor applications, Glo Brite® bulk film and sheets deliver reliable performance and visibility.
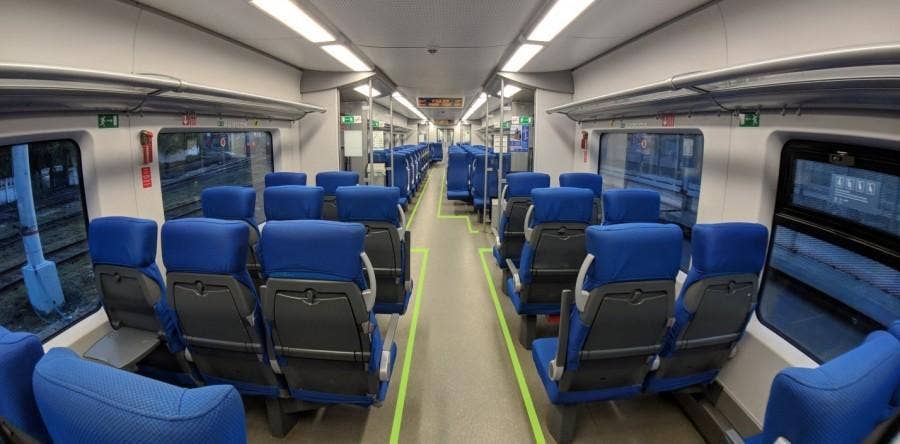
APTA Compliant: Meeting Transit Safety Standards
For transit applications, compliance with safety standards is crucial. Jessup Manufacturing offers Glo Brite® films and sheets that comply with standards set by the American Public Transit Association (APTA). These materials ensure that transit signage and markings meet industry safety standards, enhancing safety and visibility for passengers and operators alike. With their durable construction and high-visibility design, Glo Brite® films and sheets offer transit organizations a reliable solution for enhancing safety and compliance.
In conclusion, Jessup Manufacturing's Exit Signs & Tapes solutions offer a comprehensive range of products designed to enhance safety, visibility, and compliance in various environments. From eco-friendly UL 924 Exit Signs to APTA-compliant transit signage, Jessup's innovative products set the standard for safety and peace of mind. With Jessup Manufacturing, organizations can trust that their safety needs are in good hands, ensuring a safer and more secure environment for all.


